

Create a Dashboard
1. Click on an existing dashboard group (do not click on the pencil icon).
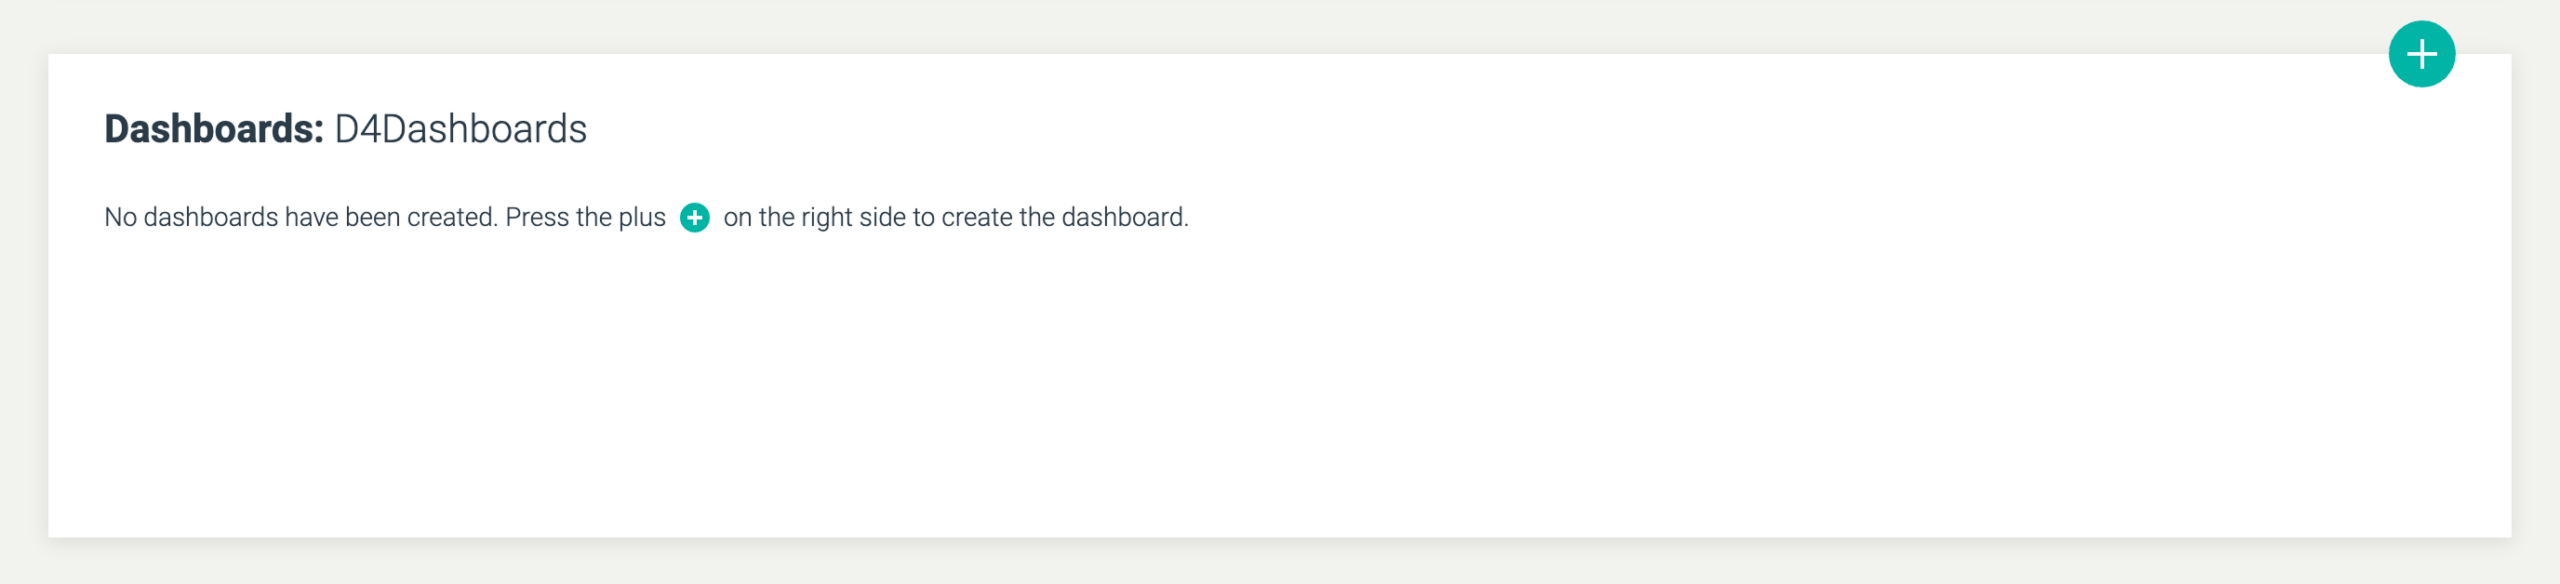
Now a field that can contain dashboards in the dashboard group will appear.
2. Click on the plus icon to create the first dashboard.
You will now see a window with options for creation.
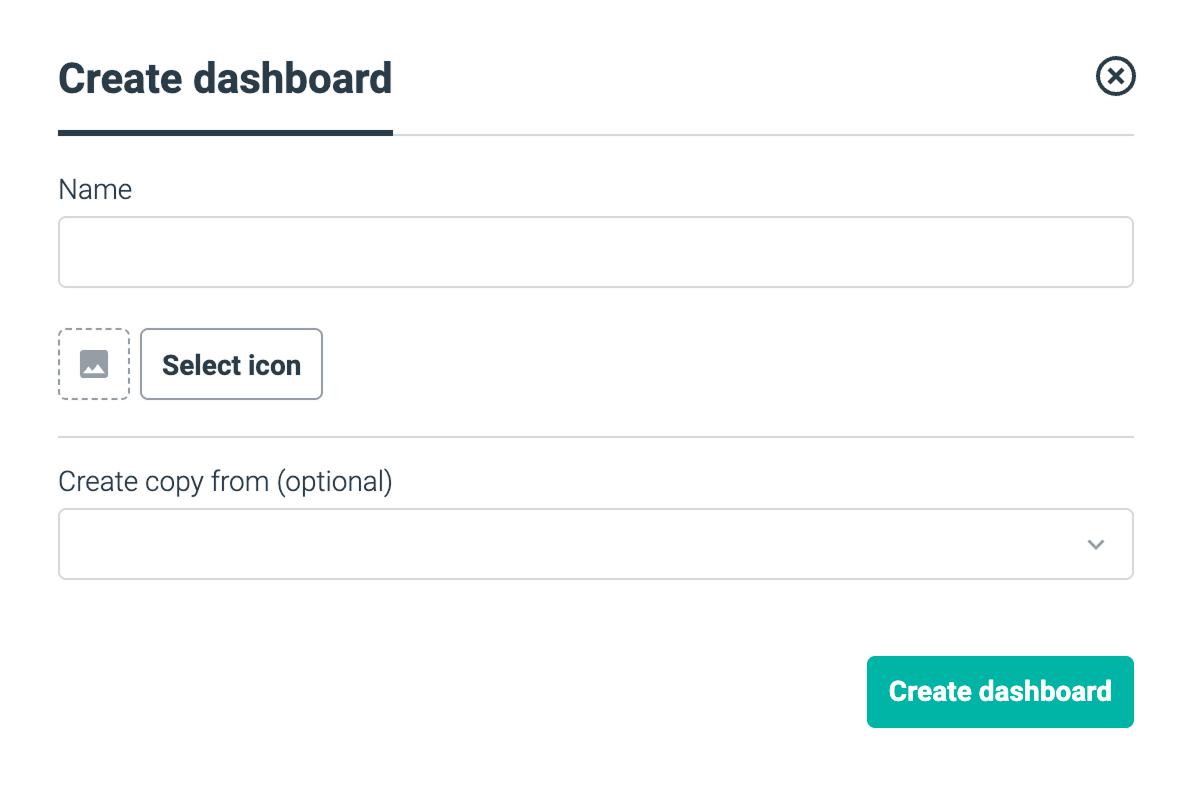
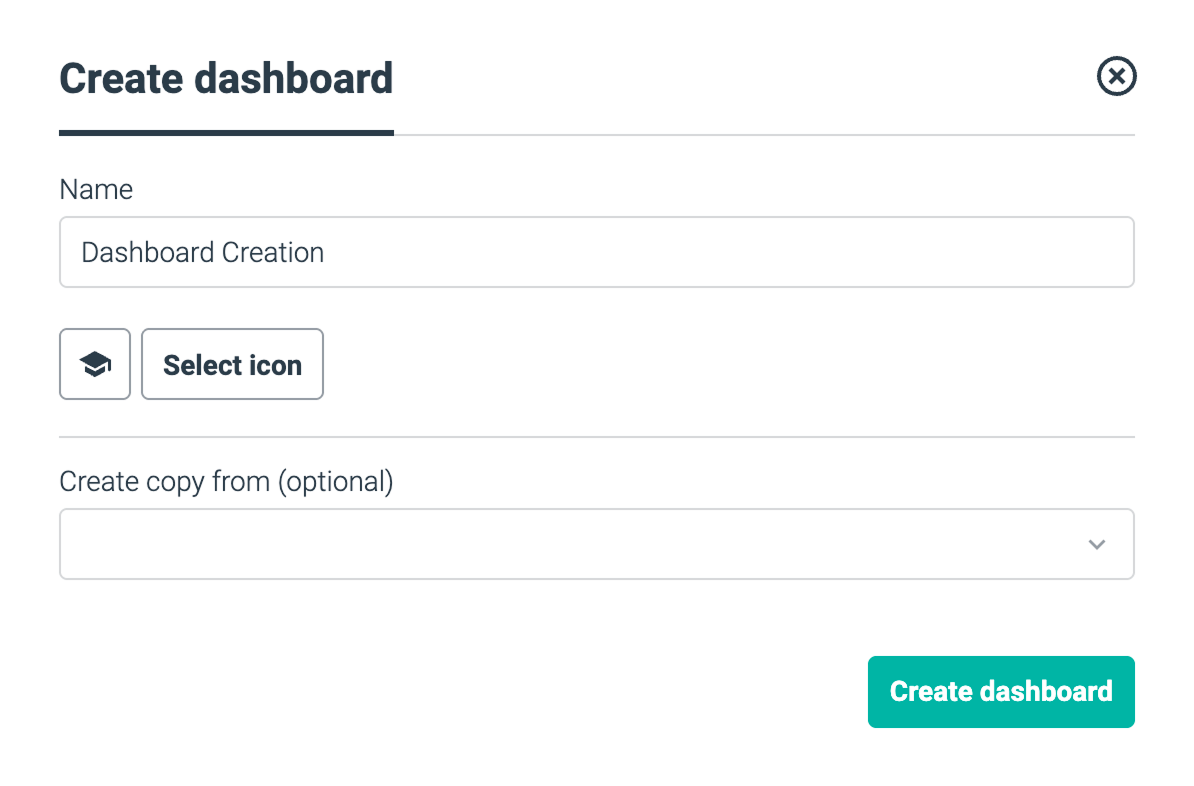
Name your dashboard and select an icon from the icon picker to represent your dashboard.
Indlæg
Se også: Opret og rediger dashboard-grupper for mere information om ikonvælgeren.
Optionally, choose to create your dashboard as a copy of an already existing dashboard. This can be done via the dropdown menu at the bottom. This feature may make sense if, for example, you need to create a dashboard that only differs slightly from an already existing dashboard.
Click the button: Create dashboard
In the example below, the dashboard is created with the name “Creating a Dashboard” and with an icon.
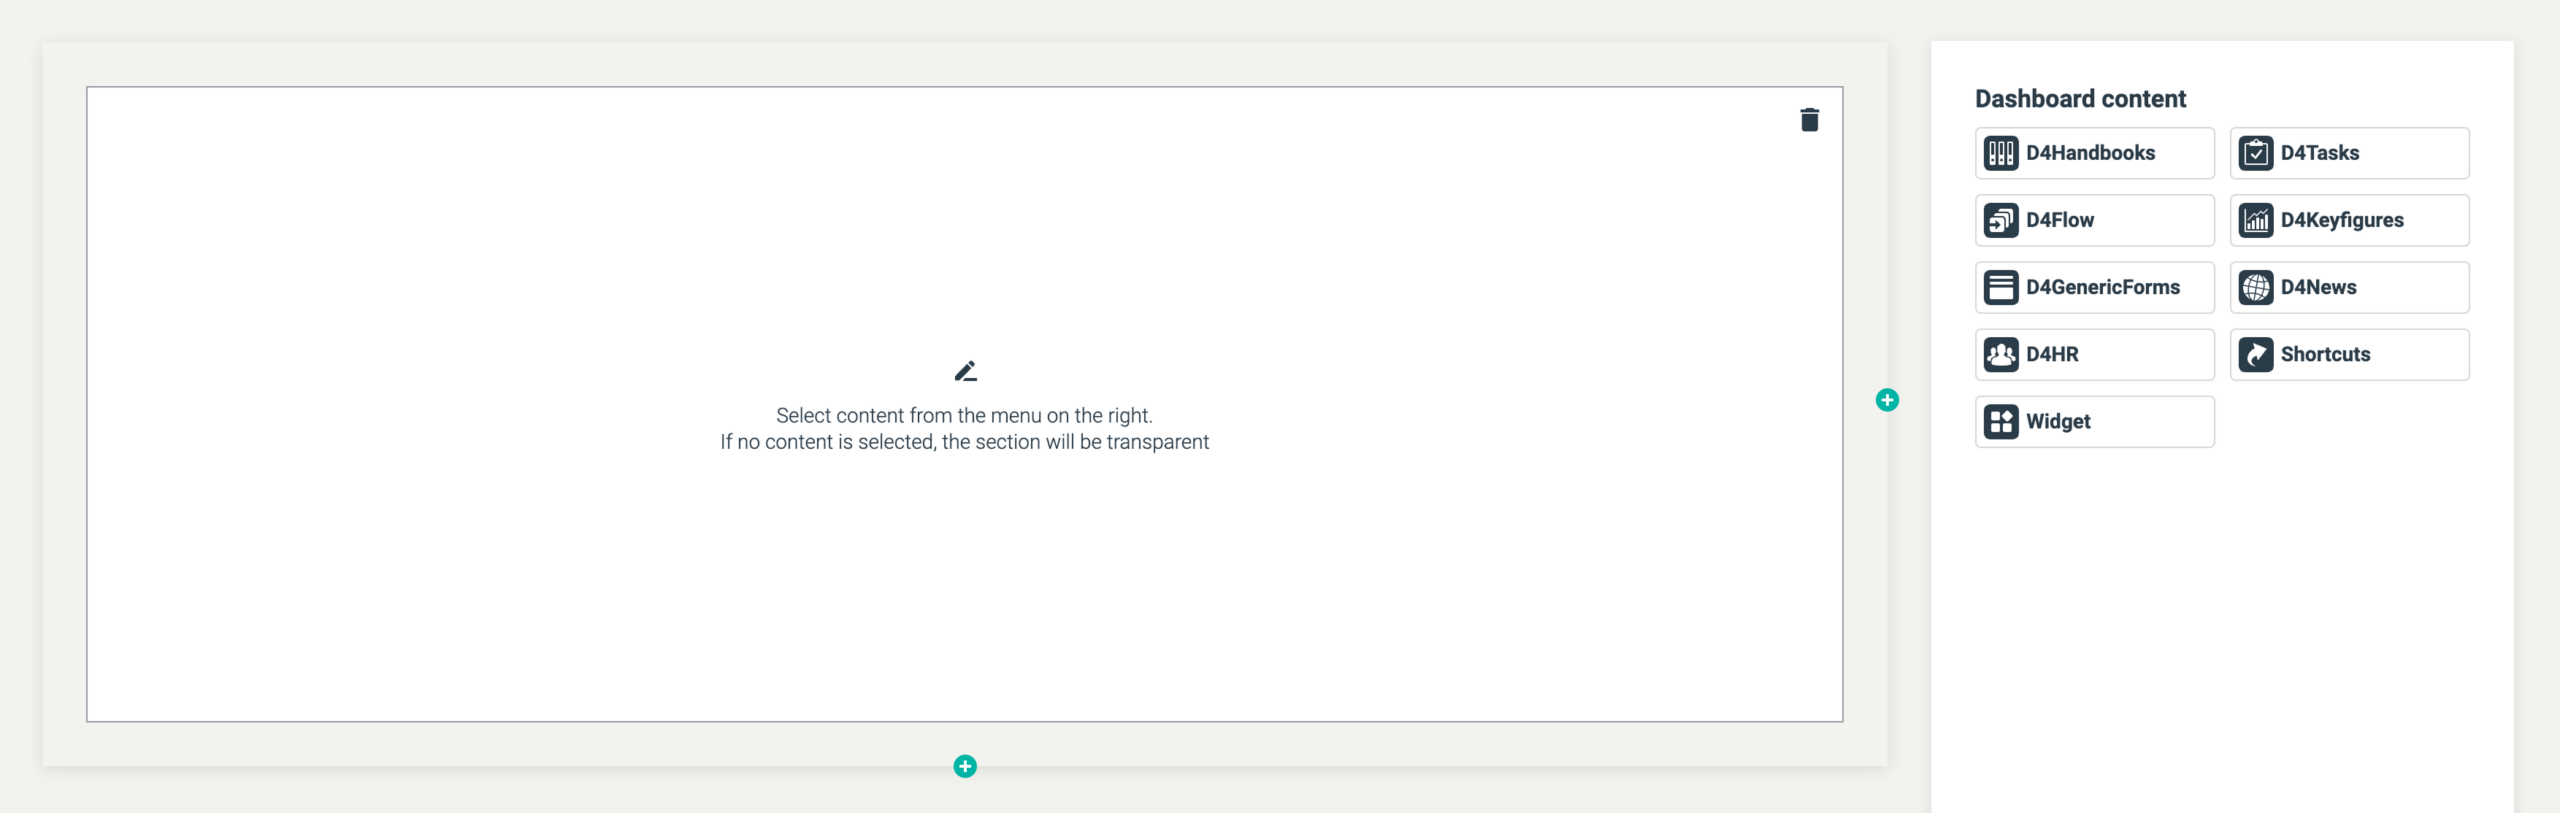
After creation, you will see the following page, where you can set up the dashboard with content.
Indlæg
Se også: Sektioner til indhold for mere information om indhold.
Edit a dashboard
Click on the D4Dashboards logo at the top left to go to the overview. When you hover over a dashboard, a pencil icon will appear. If you click on the pencil, you can edit the name and icon, as well as change which group the dashboard belongs to.
Delete a dashboard
The delete icon is available if there is a published version of the dashboard. A click on the icon will open this. If there is no published version of the dashboard, the icon will be gray and inactive.